When it comes to memorial and monument selection, the options can be overwhelming. Understanding the different memorial types, monument profiles, and finishes is crucial to creating a lasting tribute for your loved ones. In this guide, we’ll break down the intricacies of memorial choices, helping you make an informed decision without getting lost in jargon. From Flat Markers to Apex Tops, Polished Finishes to Rock Pitch, we’ve got you covered.
Memorial Types
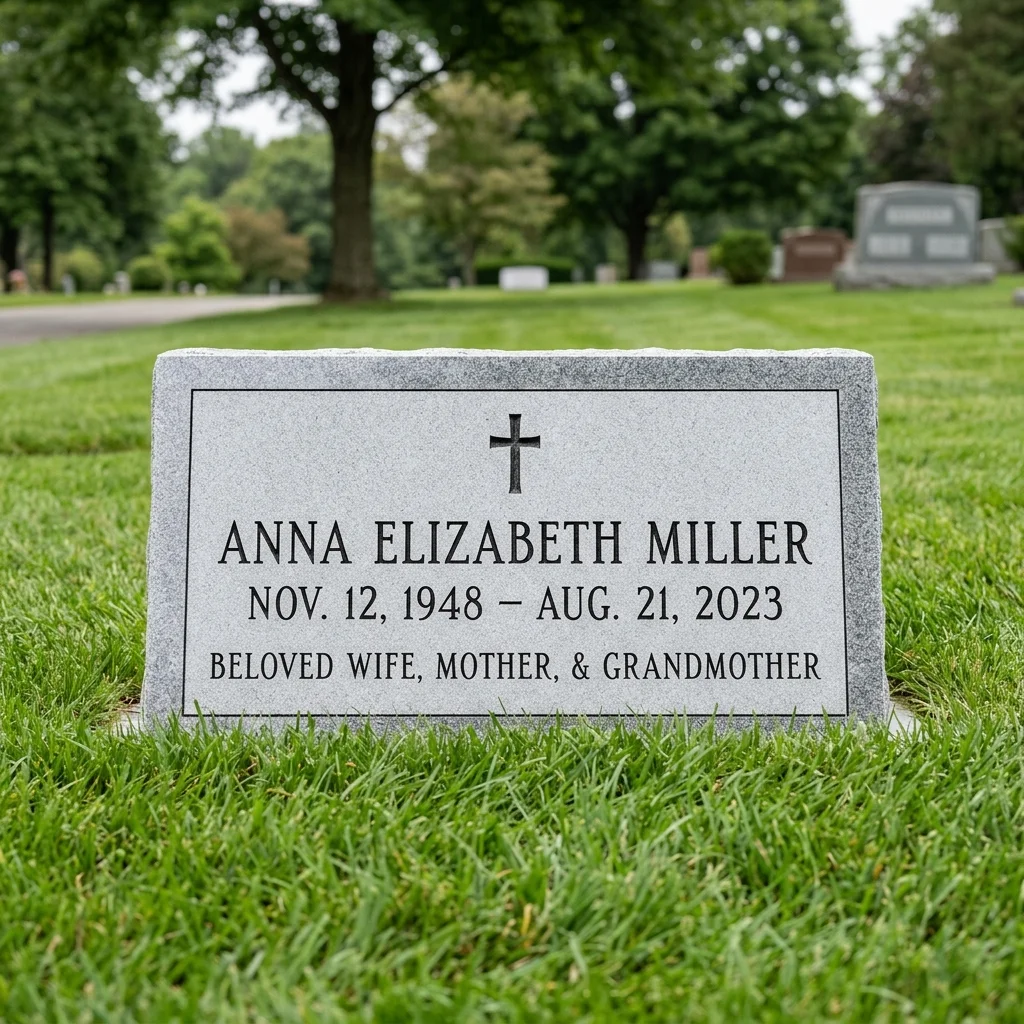
1. Flat Marker, or Flush Marker
A flat stone placed in front of a family memorial or individually to mark a grave. It’s usually lettered and carved for a personalized touch.
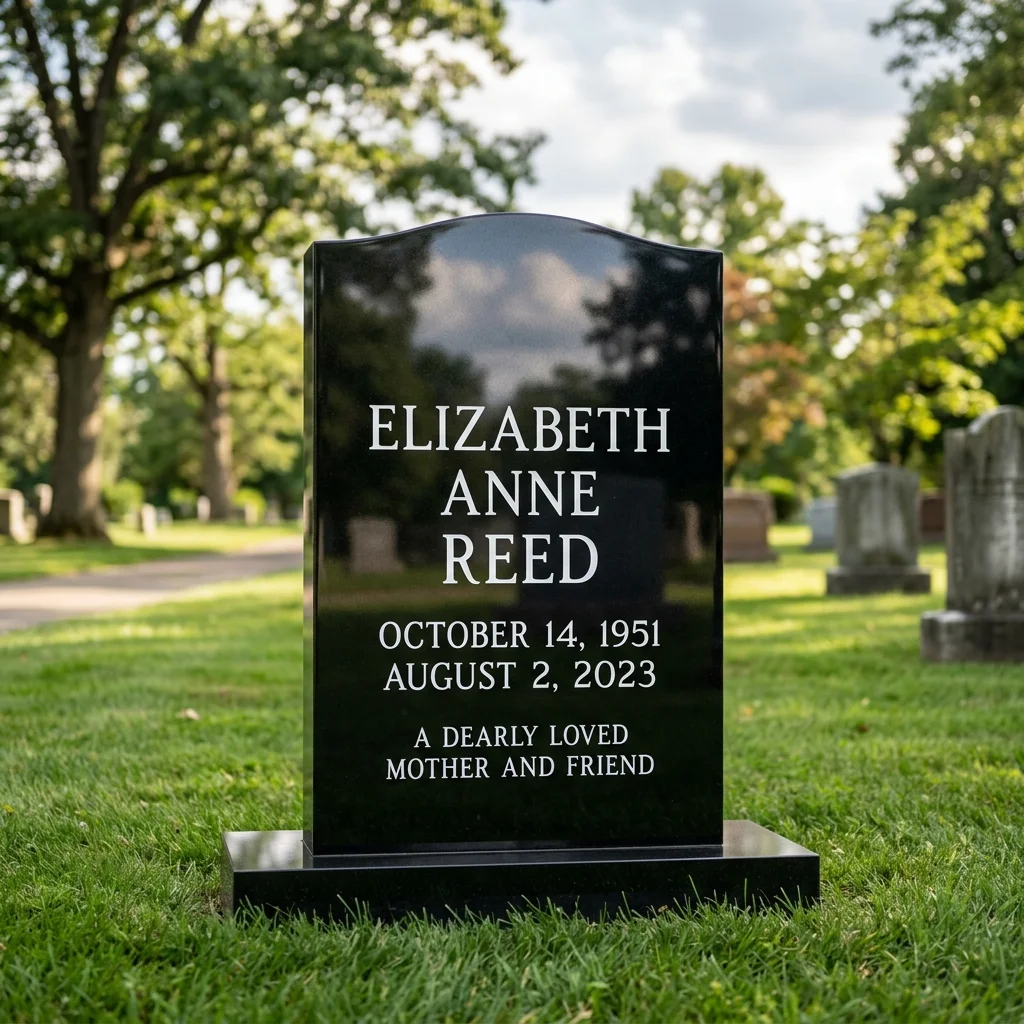
2. Upright Monument, Tablet, or Die
An upright tablet that is lettered and/or carved, serving as the top piece of a traditional two-piece memorial.
3. Pillow or Hickey Marker
Similar to a Marker, but it has a slight slope from back to front, with most Pillow Markers dropping approximately 2″ from back to front.
4. Slant
Resembling an Upright tablet but with the face cut at a steep angle, adding a unique aesthetic.
5. Bench
Comprised of Seat and Supports (2-Leg Supports or a Single Die Support), offering a functional and memorial element.
6. Custom Benches
A combination of a monument and bench, combining aesthetics and utility.
7. Base
The bottom piece of a memorial upon which a tablet is placed, providing the foundation for the monument.
8. Vase
Tapered vases with finishes matching those of the Tablet or round turned vases are usually polished.
9. Vase Base
Used separately from the memorial to contain a metal vase, adding a decorative touch to the gravesite.
10. Ledger
A flat memorial that covers most or all of the grave space, offering a substantial tribute.
Monument Profiles
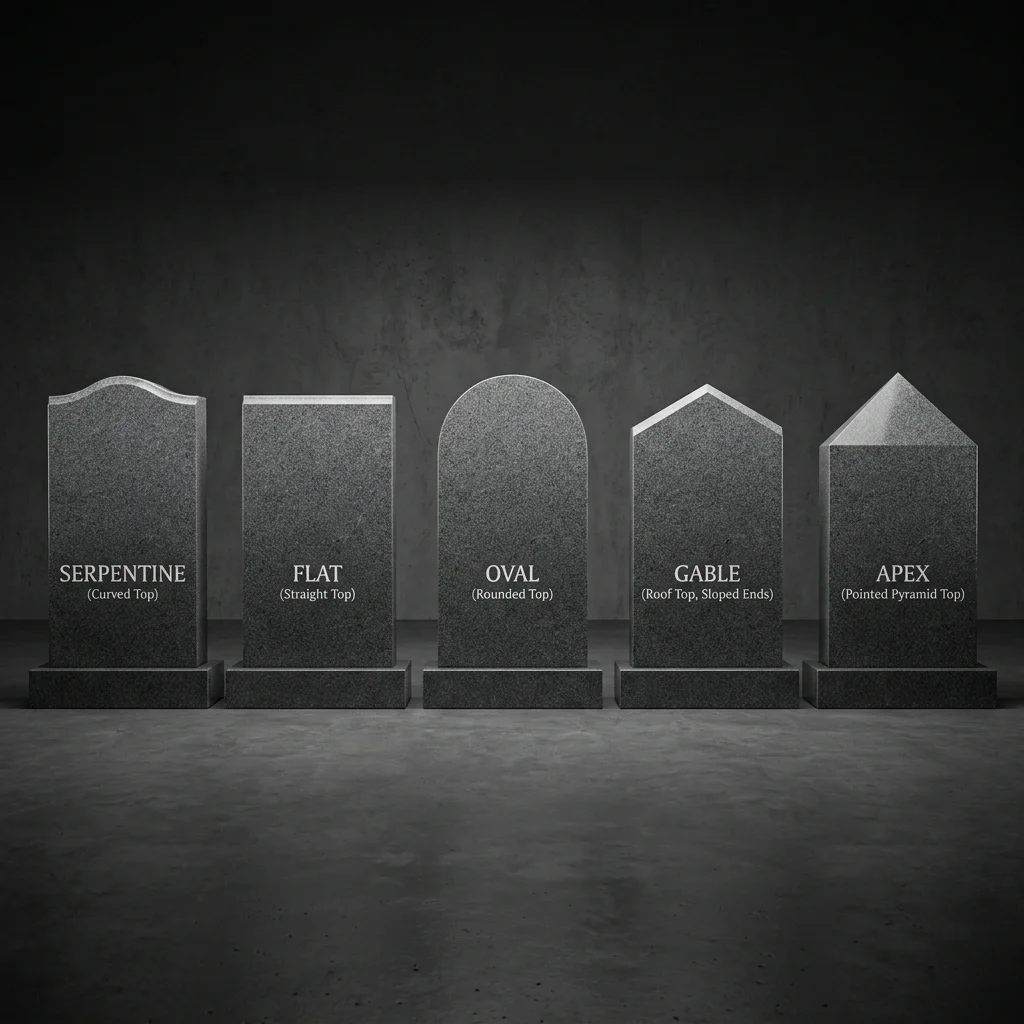
11. Serpentine
Serpentine Top, where the top of the Tablet is raised slightly (1 or 2 inches) in the center.
12. Flat
Flat Top, with a level surface on the Tablet for a clean and classic look.
13. Oval
Oval Top, with a rounded tablet surface, adding a touch of elegance.
14. Gable or Roof Top
The top of the Tablet is high in the center and drops approximately 2″ towards the ends, creating a unique shape.
15. Apex
Apex Top, where the top of the Tablet is high in the center, and all four sides come up to a single point as a pyramid, providing a distinctive design.
Finishes
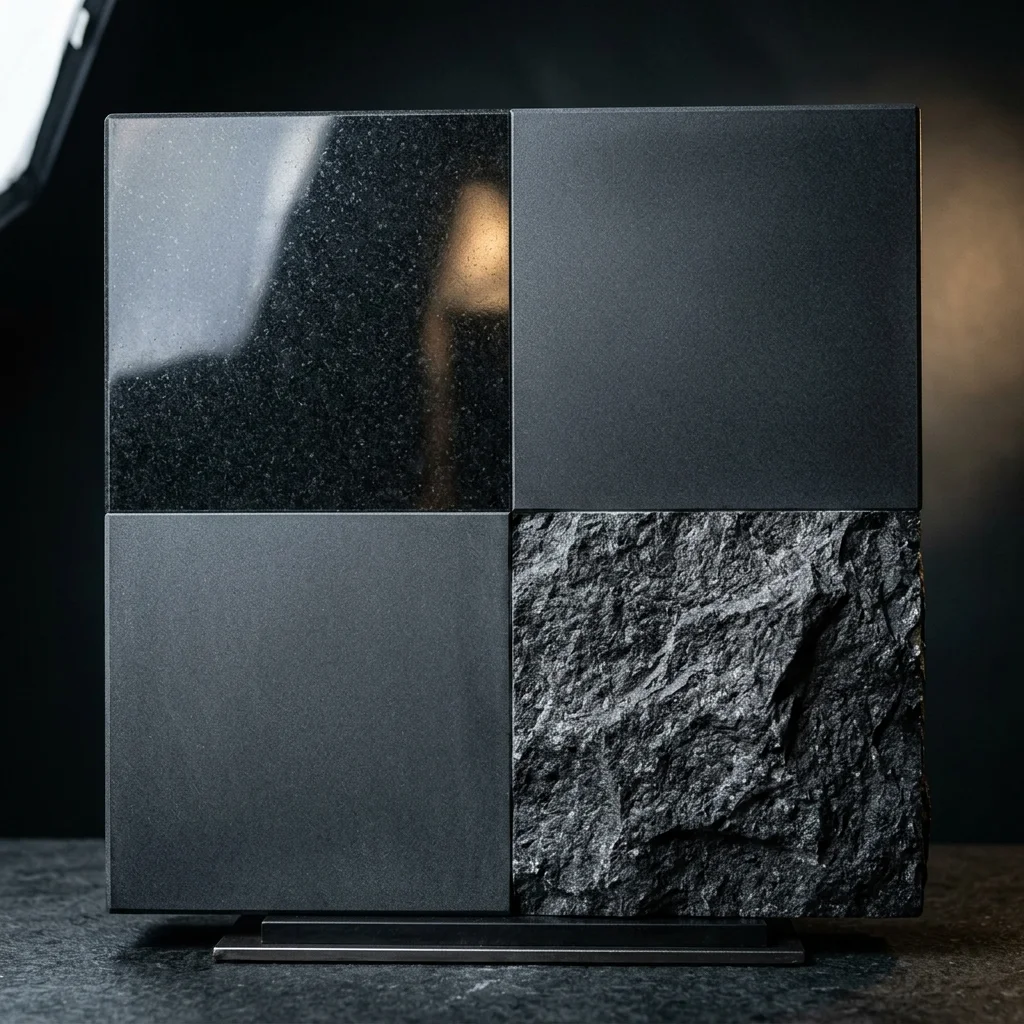
16. Polished
The surface of the stone is ground with finer and finer abrasives until it reaches a high gloss, creating a classic and elegant appearance.
17. Steeled
The surface of the stone is blasted or ground with Steel Shot until it reaches a flat textured surface, giving it a rugged and unique look.
18. Honed
The surface of the stone is ground with abrasives until it reaches a smooth surface but has no gloss, offering a subtle and elegant finish.
19. Rock Pitch
A very rough surface, showcasing the natural fracture of the stone for a rustic and unique appearance.
Finished Surfaces & Sides
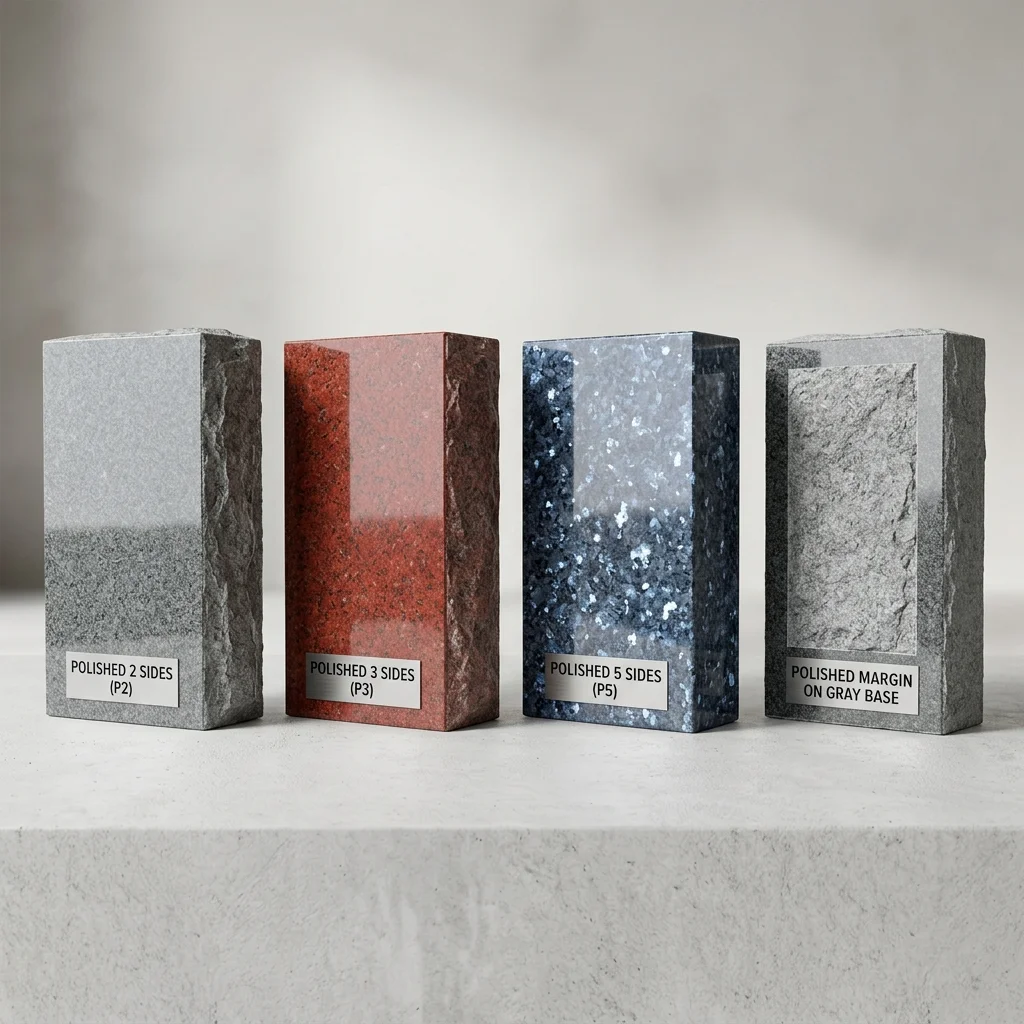
When choosing a monument die (the upright tablet) or its base, the finish of the faces and sides dramatically changes the aesthetic and cost. P2, P3, and P5 designations specify which sides of the die are polished, while margins frame the base.
P2 – Polished two sides
Front and back faces of the Die are polished for a clean and glossy look, while the top and sides are left rockpitched (rough, natural stone texture) for a rustic contrast.
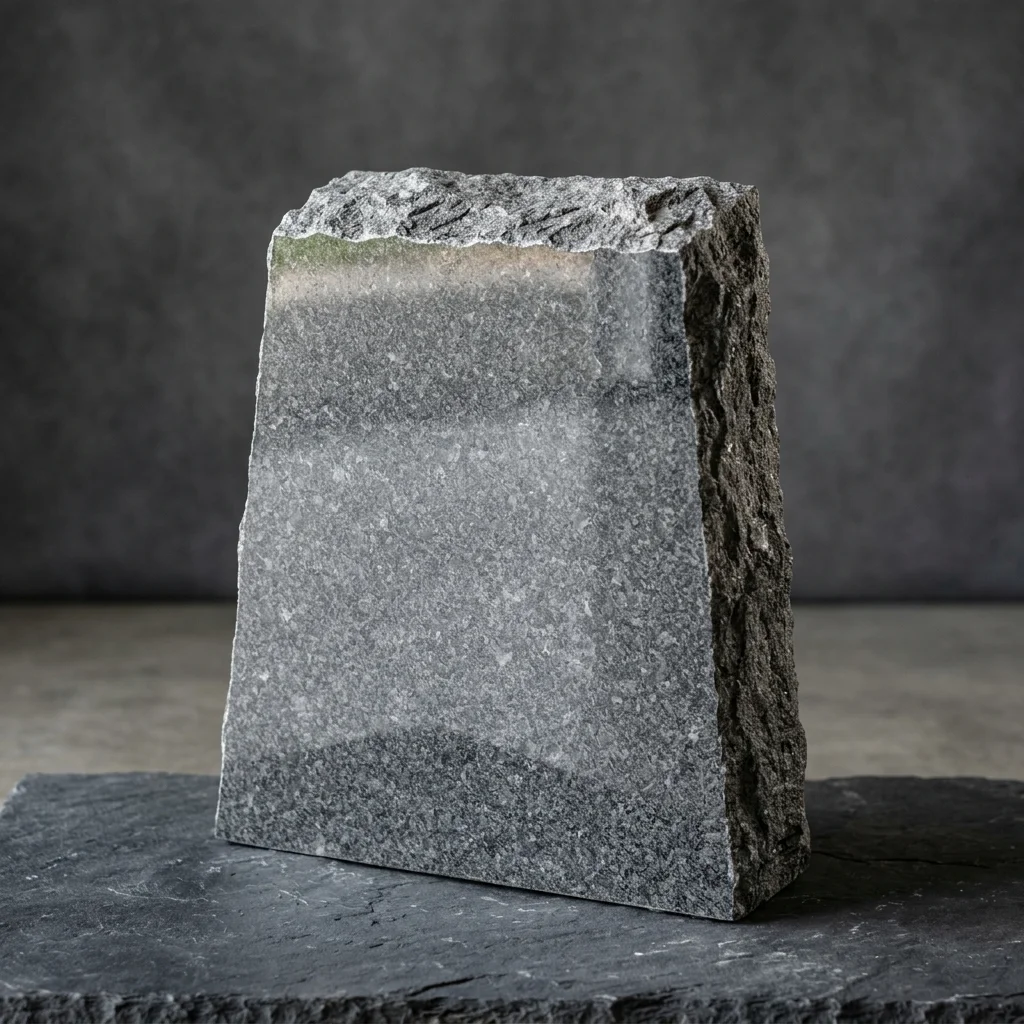
P3 – Polished three sides
Front, back, and top of the Die are polished, providing a more refined appearance with rockpitched ends.
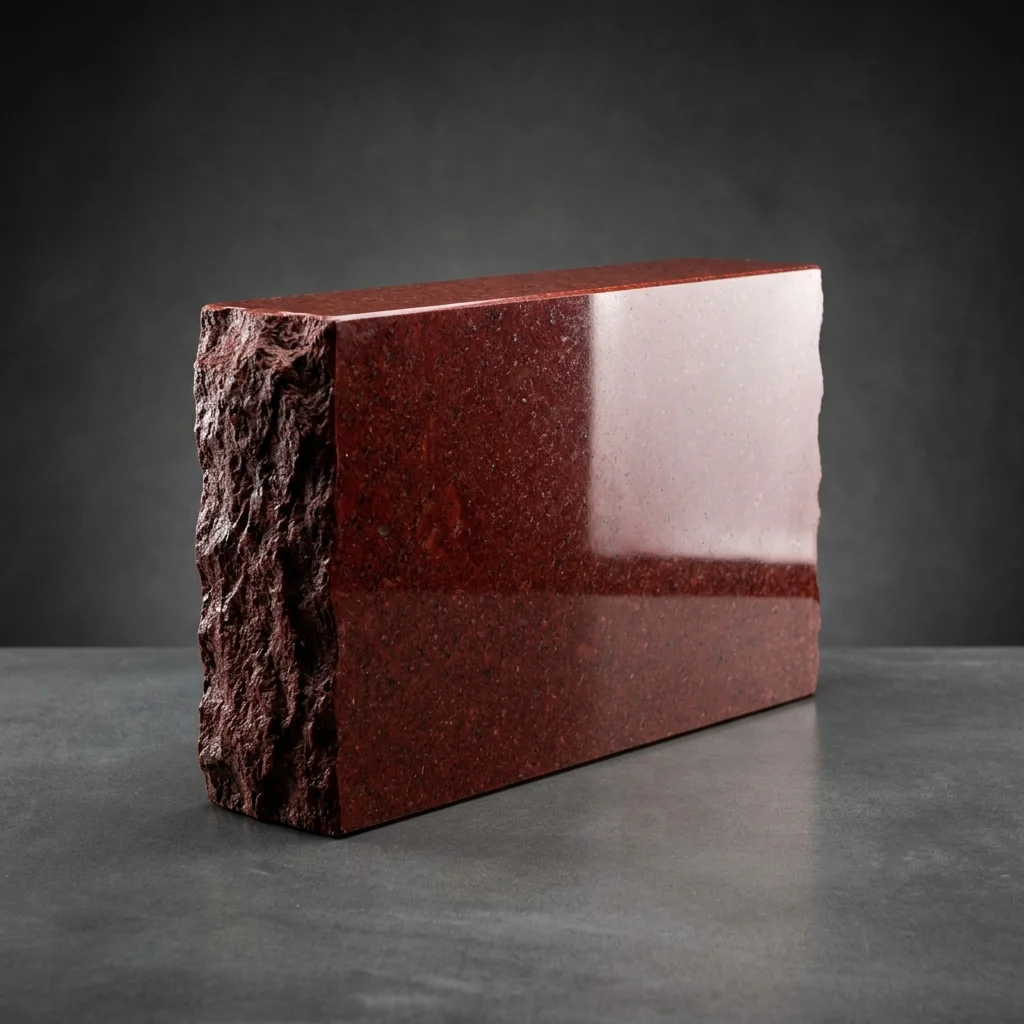
P5 or All Polished – Polished five sides
Front, back, top, and both ends of the Die are polished, offering a complete glossy, modern finish.
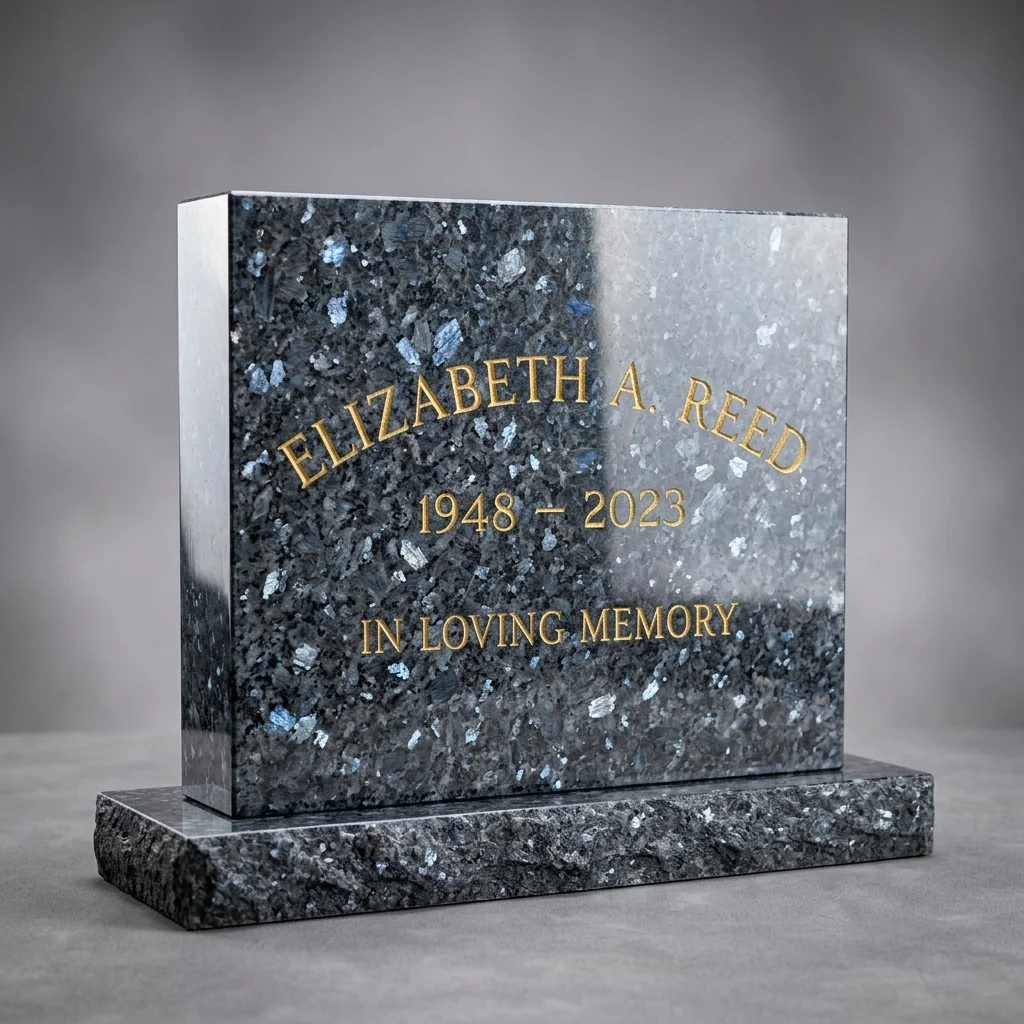
P4 – Polished four sides
Front, back, and both ends are polished, while the top remains rockpitched or sawn.
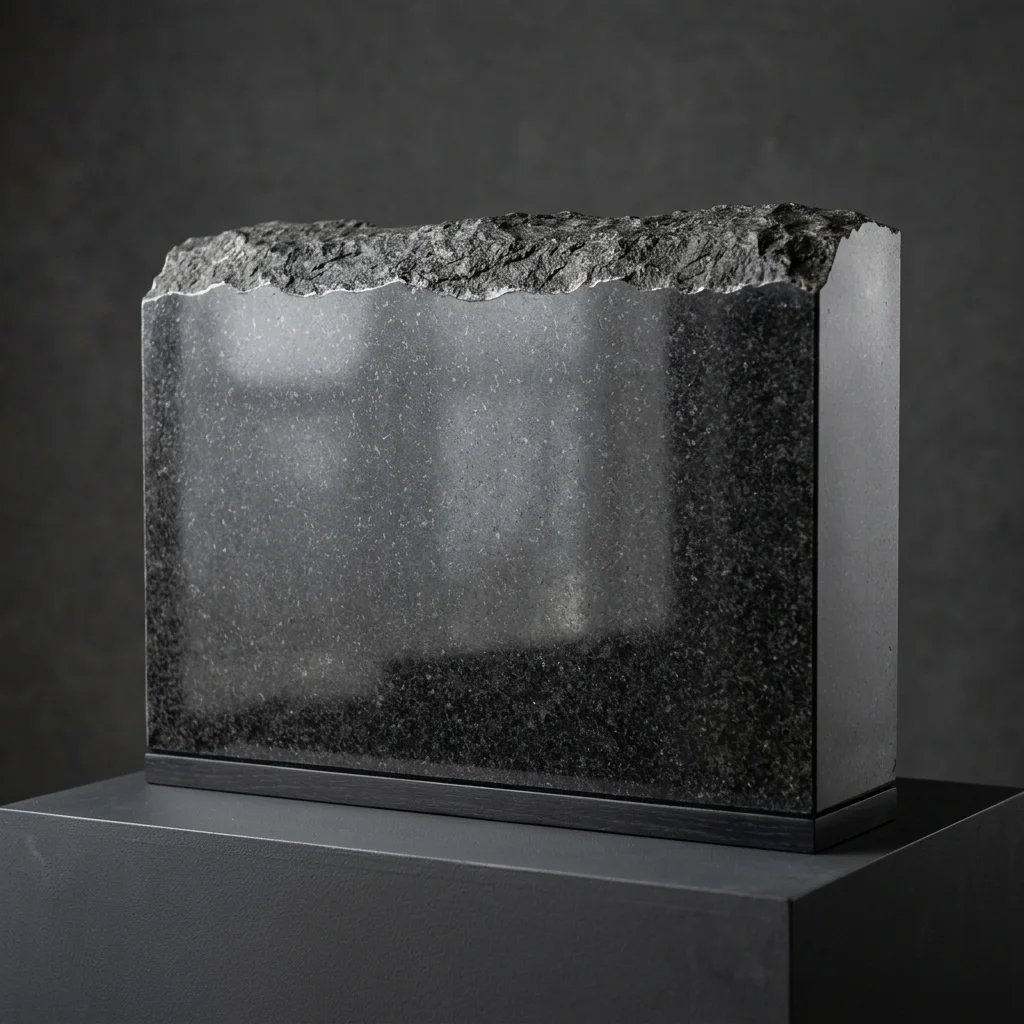
Margins (on Base)
A polished margin (typically 1.5 to 2 inches wide) forms a smooth border around the top edges of the base block, framing the rockpitched lower portion.
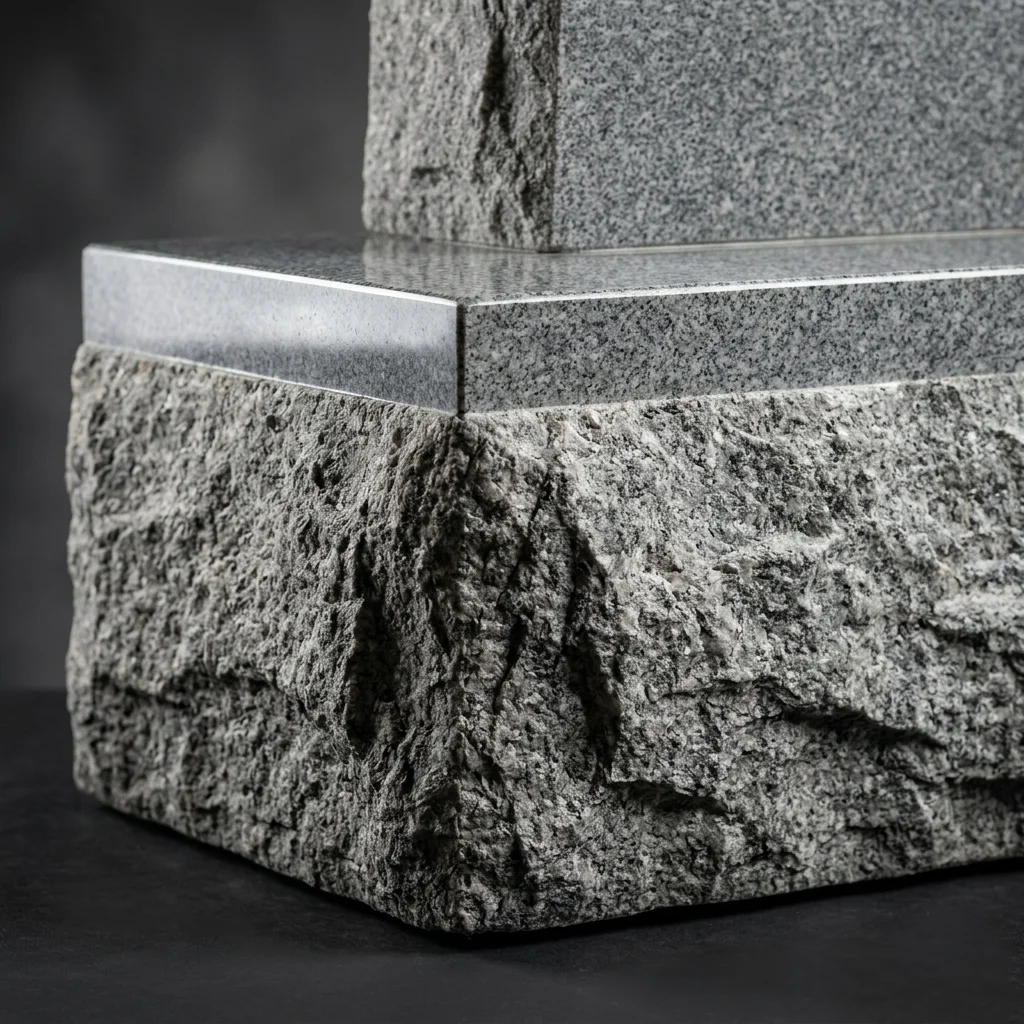
BRP – Balance Rock Pitch
A balanced approach that combines a rough and polished appearance on the sides for a unique contrast.
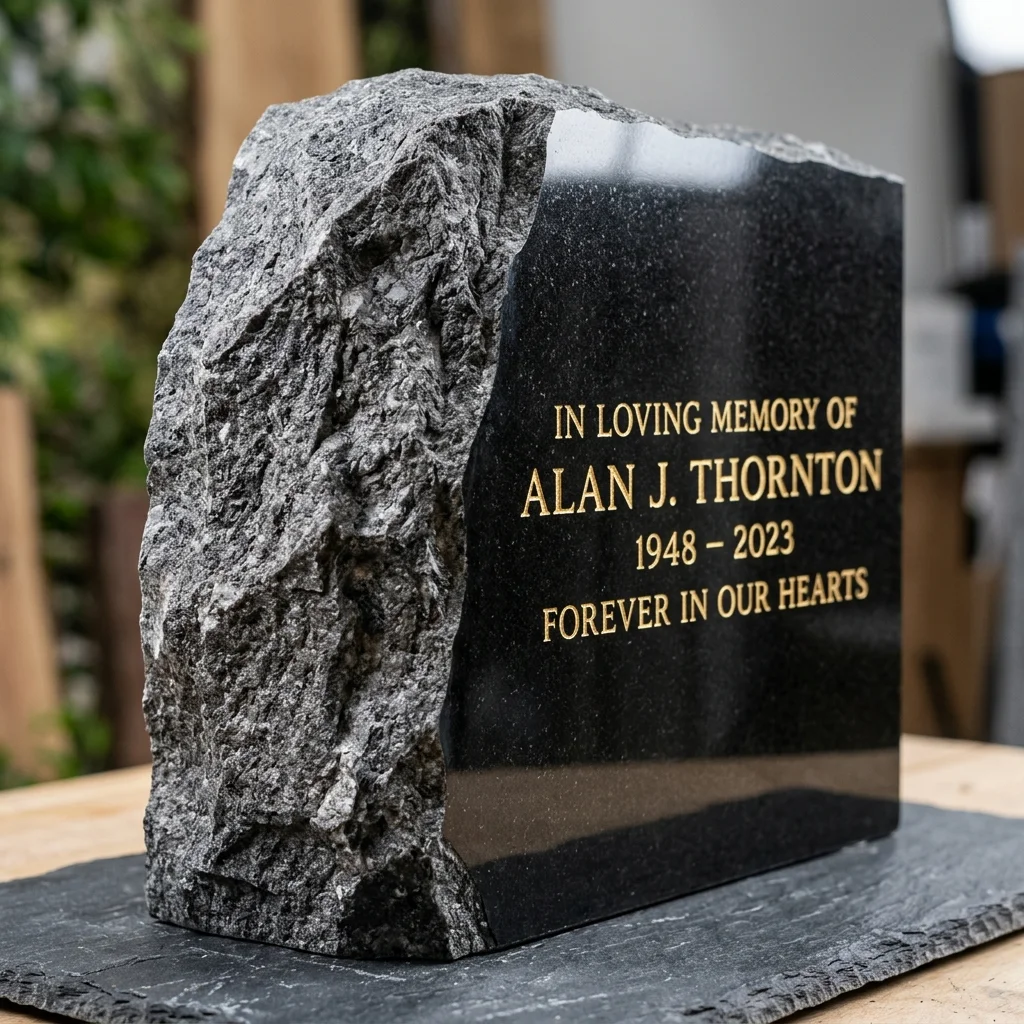
BS – Balance Sawn
Sides are sawn to create a balanced, smooth, and clean look.
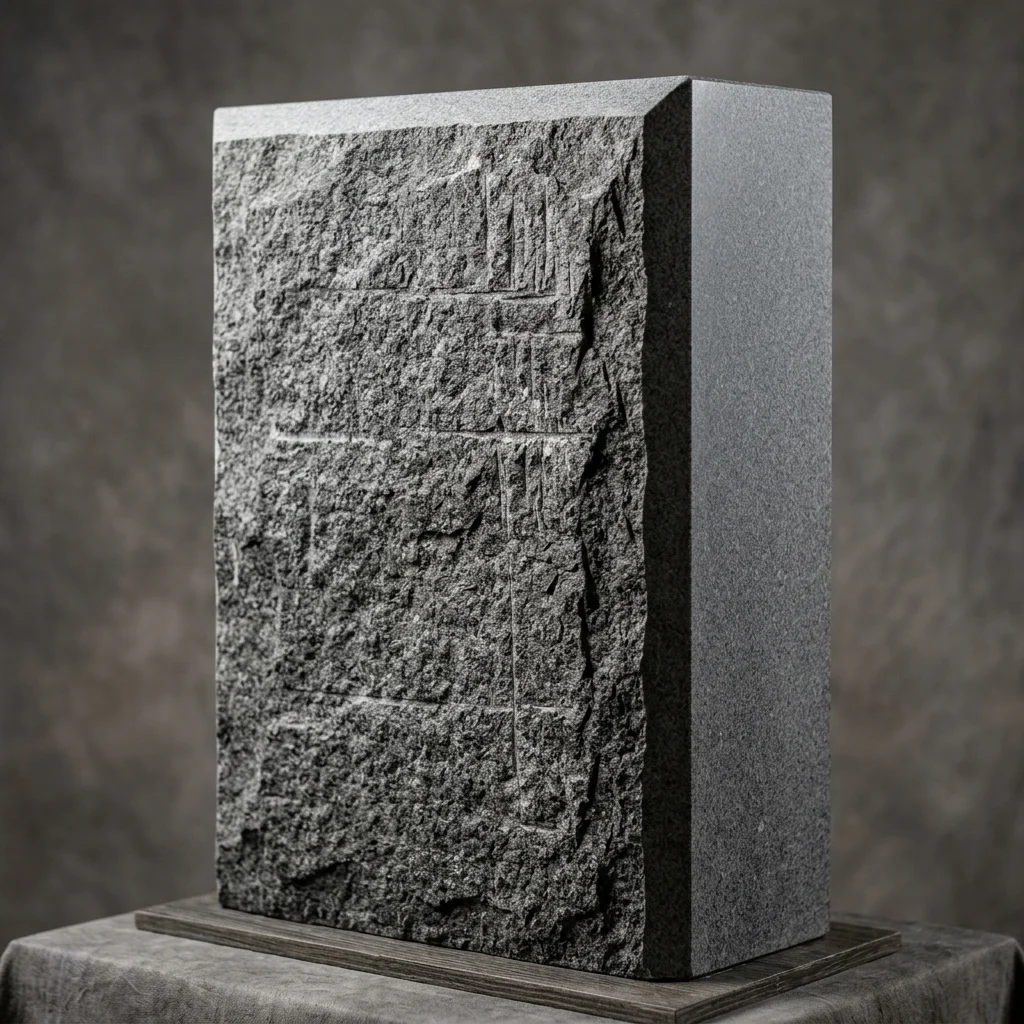
SS – Sawn Sides
Sides are sawn flat for a straightforward and modern appearance.
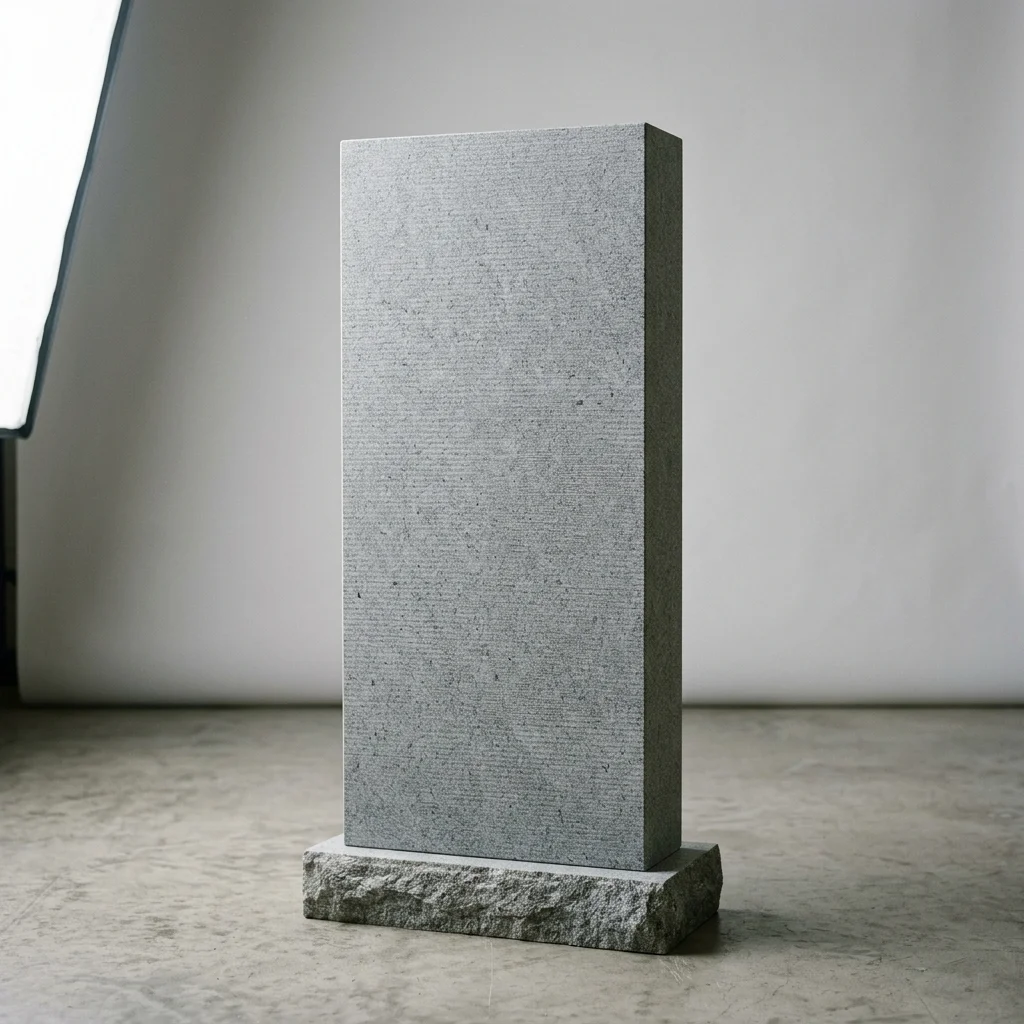
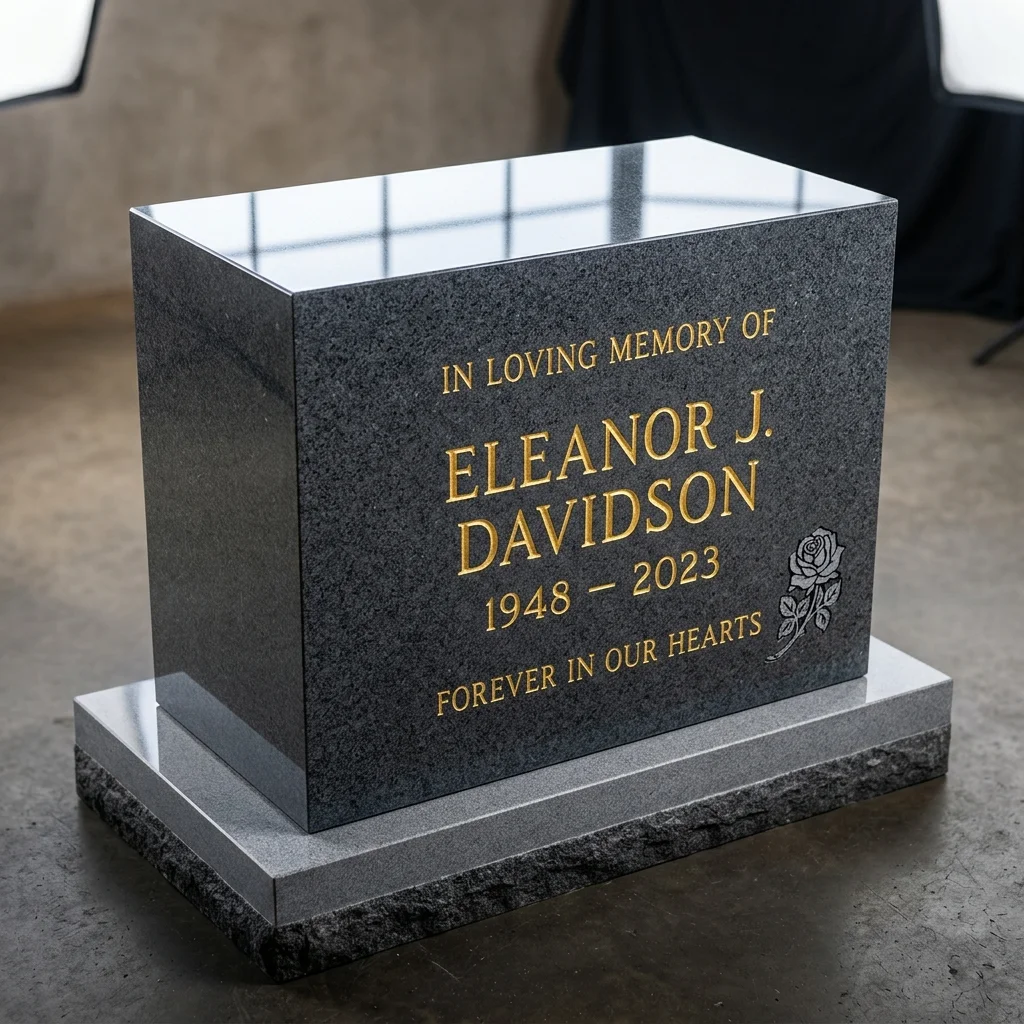
PFT – Polished Flat Top
A polished flat top for a clean and classic finish.
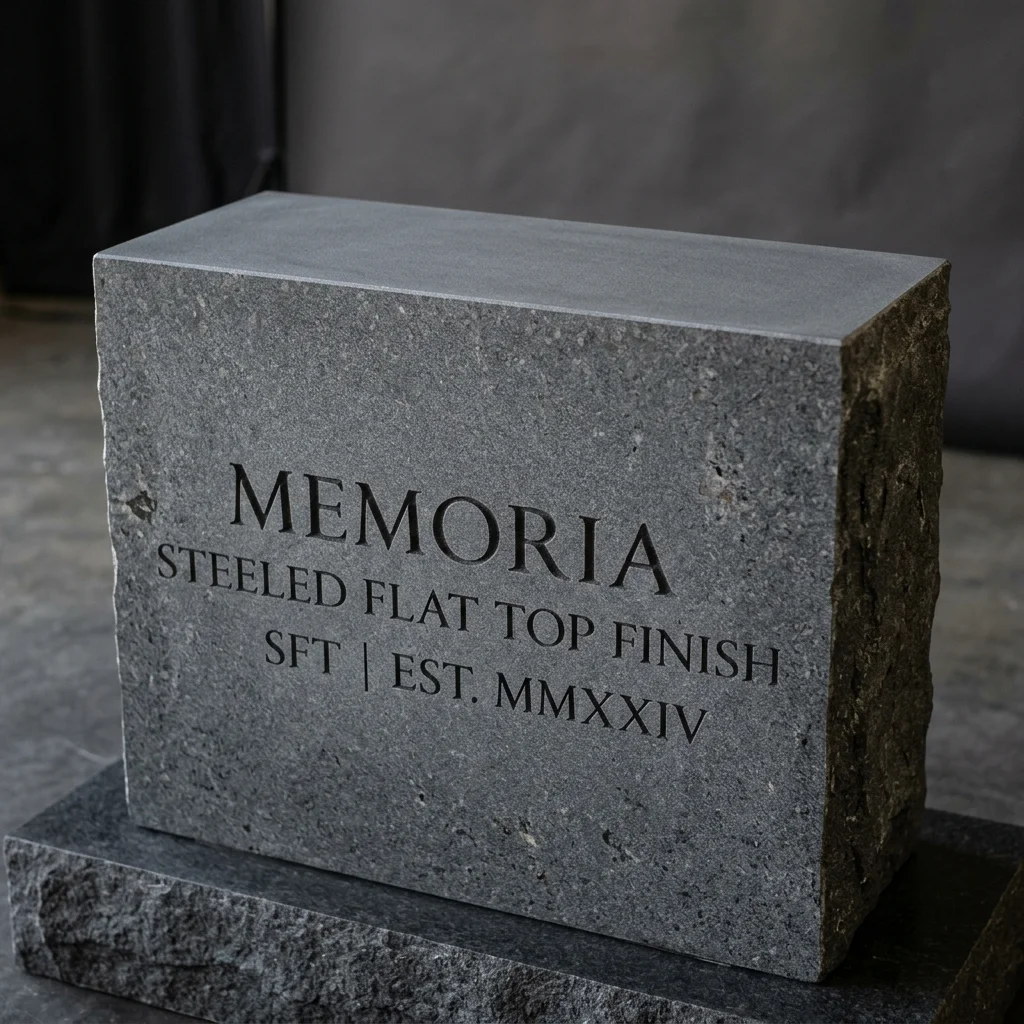
SFT – Steeled Flat Top
A steely texture on a flat top for a distinctive and rugged appearance.
Now that you have a comprehensive understanding of memorial types, monument profiles, and finishes, you can confidently choose the perfect tribute for your loved ones. Remember, each option has its unique characteristics, allowing you to create a lasting and personalized memorial.
Carving and Lettering Options
Carving Options
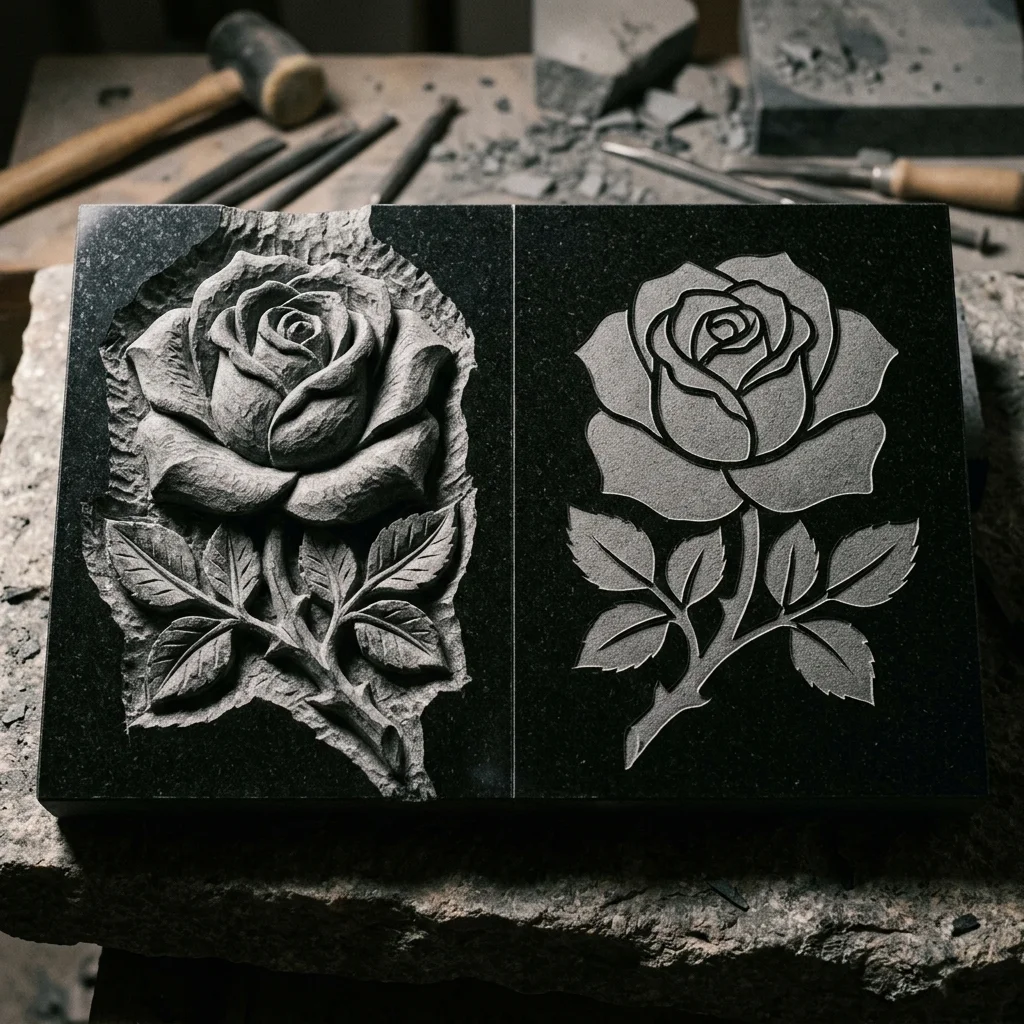
Shape Carving
A technique used to create a three-dimensional appearance, making the floral carving appear lifelike and adding depth to the memorial.
Flat Carving
Outlines are sandblasted around the floral carving, while the surfaces of the blooms and leaves are left flat, creating a dynamic contrast.
Stencil
Lettering and designs are cut into rubber stencil that resists the sandblast. Exposed stone is etched by the sand, resulting in the transfer of the lettering and design to the surface of the stone.
Panels
No Panel / Polished Panel
Lettering is cut directly into the polished surface of the stone, providing a clean and minimalist look. On fully polished dies, a polished panel is functionally identical to having no panel.
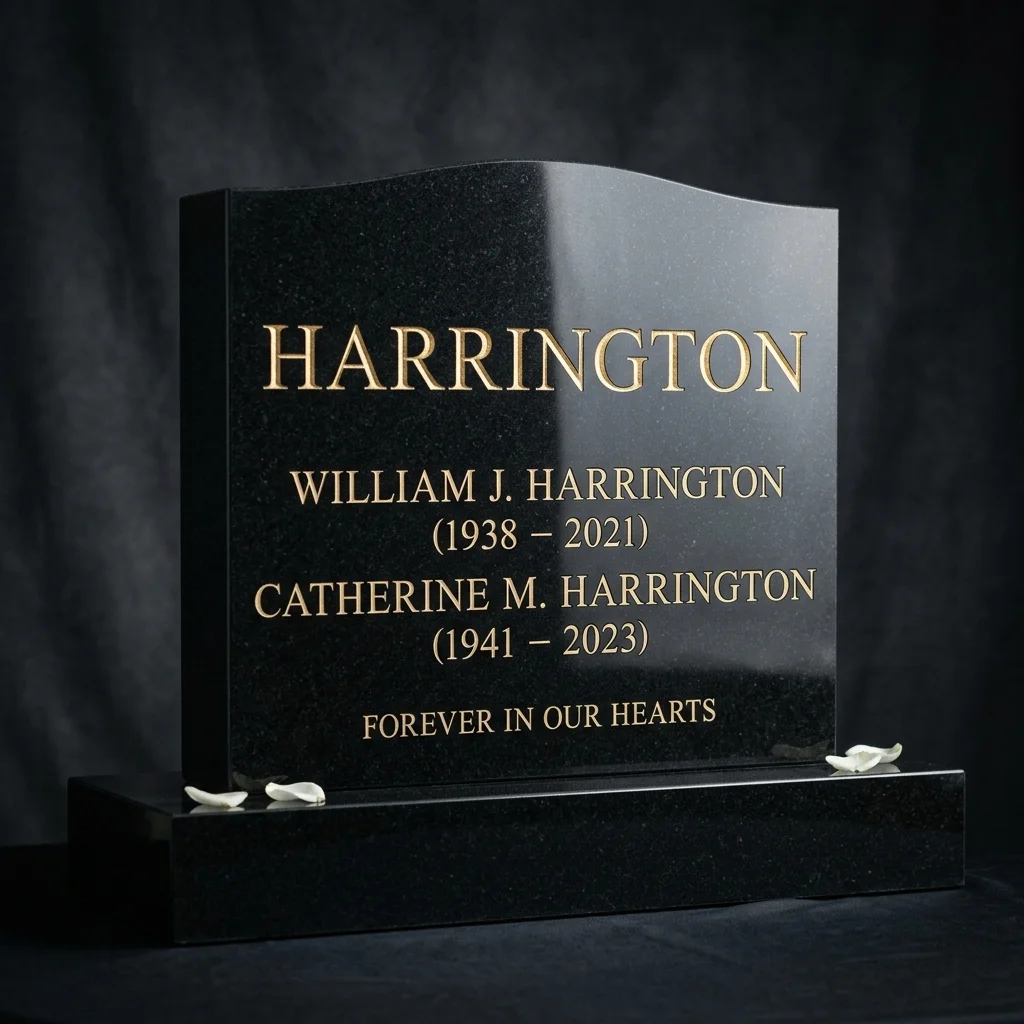
Frosted Panel
The area within the border of the panel is lightly sandblasted. This process generally lightens the color of the stone, creating a distinct frosted background contrast between the panel and the surrounding polished surface.
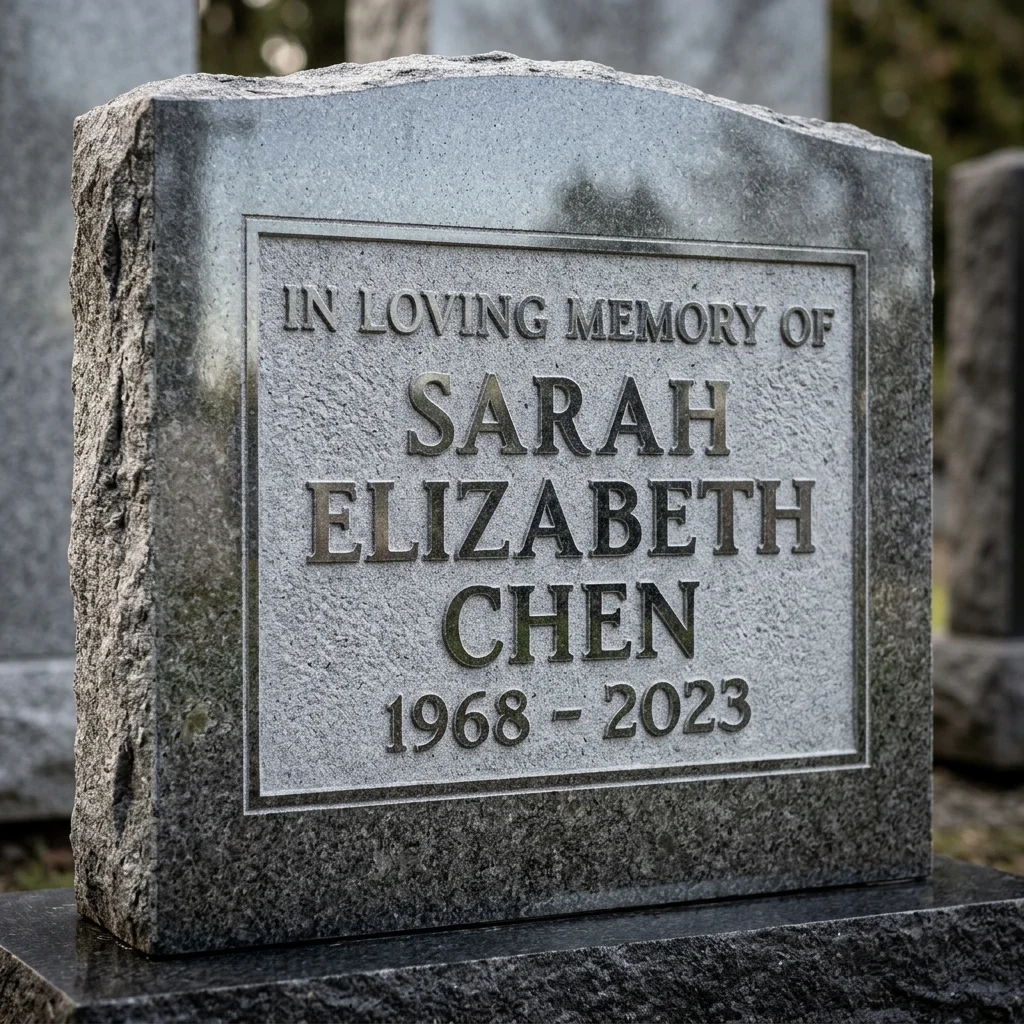
Single V-Line Panel
A crisp V-groove line border is etched directly into the stone, creating a double border around a family name or inscription panel without changing the texture of the background.
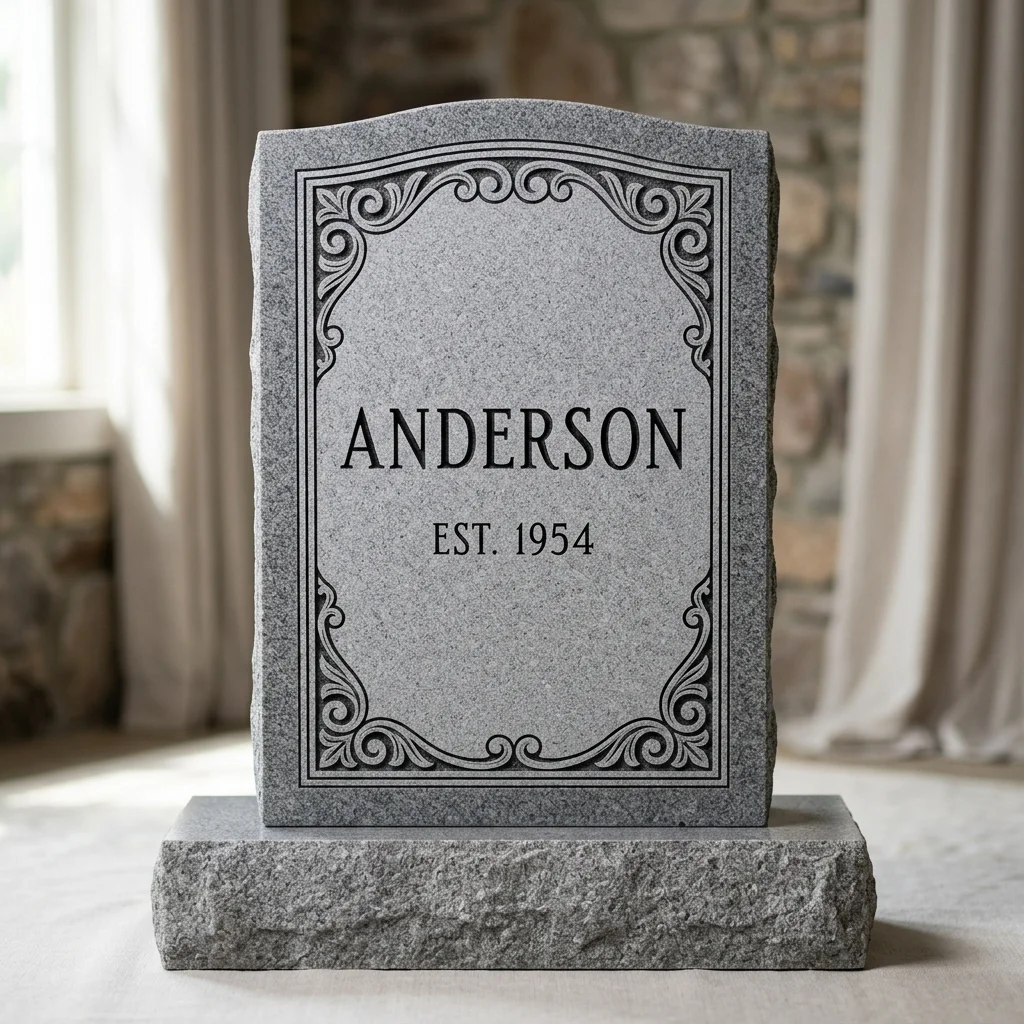
Lettering Options
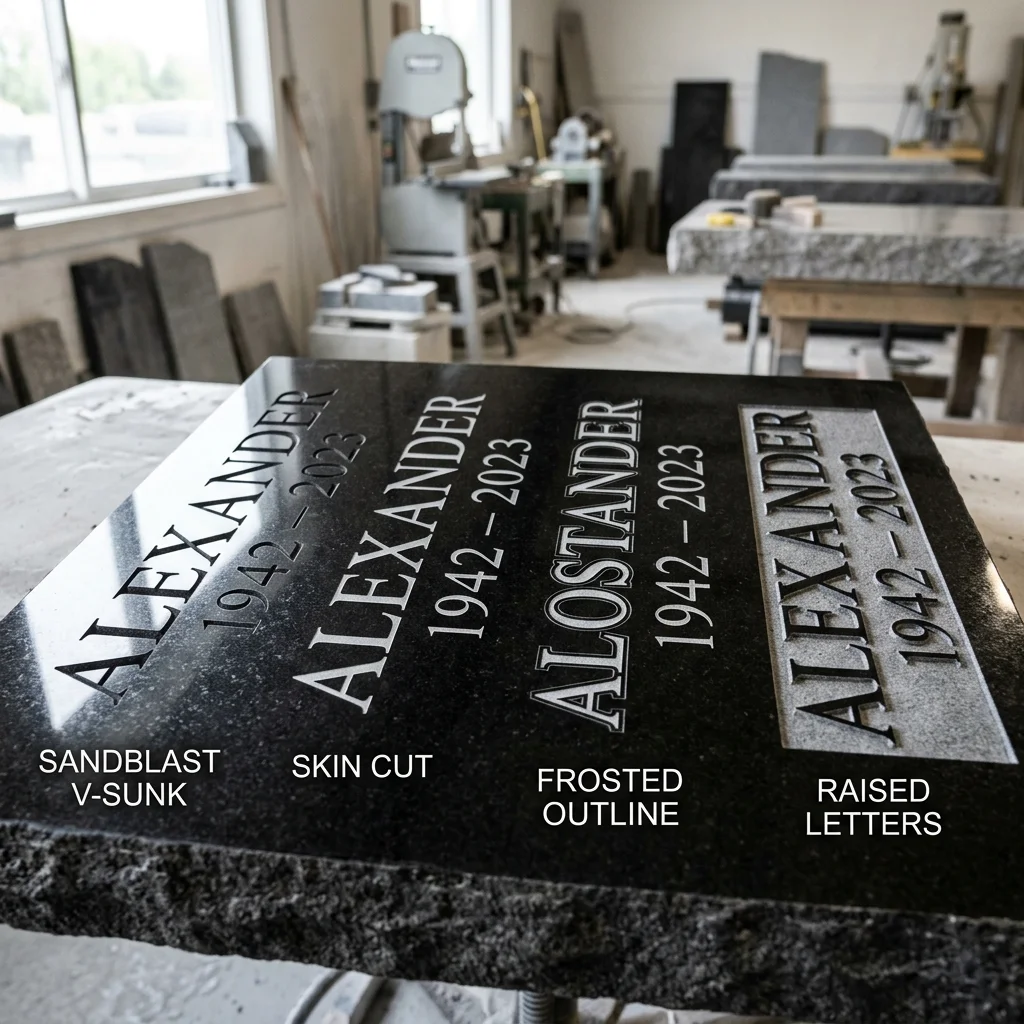
Sandblast V-Sunk
Deep sandblasted lettering that creates a “V” shape, providing depth and dimension.
Skin Cut
Shallow sandblasted lettering where the sandblast just breaks the surface of the stone, offering a subtle and clean look.
Frosted Outline
The surface of the letter is lightly sandblasted, and a deep outline is etched around it, adding a refined contrast.
Raised Letters
The area around the letters is sandblasted away, leaving the letters raised above the background, creating a three-dimensional effect.
Font
Lettering style, with Modified Roman V-Sunk being the most widely used for its classic and timeless appearance.
Lithochrome
A coloring material sprayed into the lettering and carving to create an artificial shadow. Available in various colors, with black being the most common, though it’s not permanent.
No Litho
No artificial coloring is sprayed in the lettering or carving, offering a natural and authentic look. Note: On lighter-colored granites, lettering cut in the polish with no panel may not be legible